
BLSmartFlow
The BLSmartFlow is an accessory developed to supplement smart fan controll to FDM printers from Bambu Lab (X1-series and P1-series).
Users can add this accessory to mods like Bento box
The BLSmartFlow communicates directly with the printer, and ensuring that the fans rpm are in sync with the printer's status. It is a paramount accessory that enhances the printing experience for hobbyists, professionals, and 3D printer enthusiasts.
Features
Web-Based Interface (WebUI)
Easily configure and manage your device through a user-friendly web interface.
Settings Tab
Configure MQTT settings, including IP address, serial number, and access code.
Enable static fan speed for consistent airflow control.
Access debugging tools, including MQTT debugging, onchange debugging, and standard debug mode.
Fan Speed Tab
Customize fan behavior with a dynamic fan graph editor.
Add, remove, and modify nodes to fine-tune fan speed adjustments.


Firmware & Configuration
We've developed a user-friendly setup tool to guide you through the firmware update and setup process. Click "Begin Setup" below and select your product to get started.
Join our Discord!
Whether you’re curious or have questions - we’re ready to answer any questions!
Please join our Discord server to get them answered!
Step 1
Sourcing
⬢ In order to add the BLSmartflow device to your BentoBox you will need the following:
⬢ Original Bentobox fan case
⬢ Modifed Lowerhalf of the Bento Smartflow Base
⬢ Modifed Upperhalf of the Bento Smartflow Base
⬢ a BLSmartflow device
⬢ 2 40*20 mm 12 or 24V fans
⬢ 2 M3*8 mm machine screws
⬢ 4 4*2 mm magnets
⬢ 4 M3*25 mm machine screws
⬢ 6 M3 threaded Inserts
Step 2
Documentation
Part Prepping
⬢ Grab the lowerhalf of the bento smarflow base
⬢ Insert 2 of the M3 threaded Inserts into the 3d printed part.
⬢ Grab the upperhalf of the bento smarflow base
⬢ Insert the last 4 of the M3 threaded Inserts into the 3d printed part.
⬢ Lastly grab the original bentobox fan case
⬢ Insert the l4 4*2 mm magnets into the 3d printed part.
Step 3
Assembling the fan assembly
⬢ Grab the original bentobox fan case
⬢ Install the 2 4020 fans with the wires going out from behind.
⬢ Align the cables like in the picture
⬢ Grab the upperhalf of the bento smarflow base
⬢ Place the Original bentobox fan case ontop of the upperhalf
⬢ Route the cables through the slot like picture.
⬢ Grab the 4 M3*25 machine screws.
⬢ Grab the Original bentobox fan case and the upperhalf of the smartflow base
⬢ and install the 4 M3*25 machine screws as shown in the picture,
⬢ Check if the fan wires arent being pinched.
⬢ Make sure to not tighten the screws. a few turns to keep both the 3d prints and fans together is good enough for now.
⬢ You should have now something like this. you can put this to the side for now.
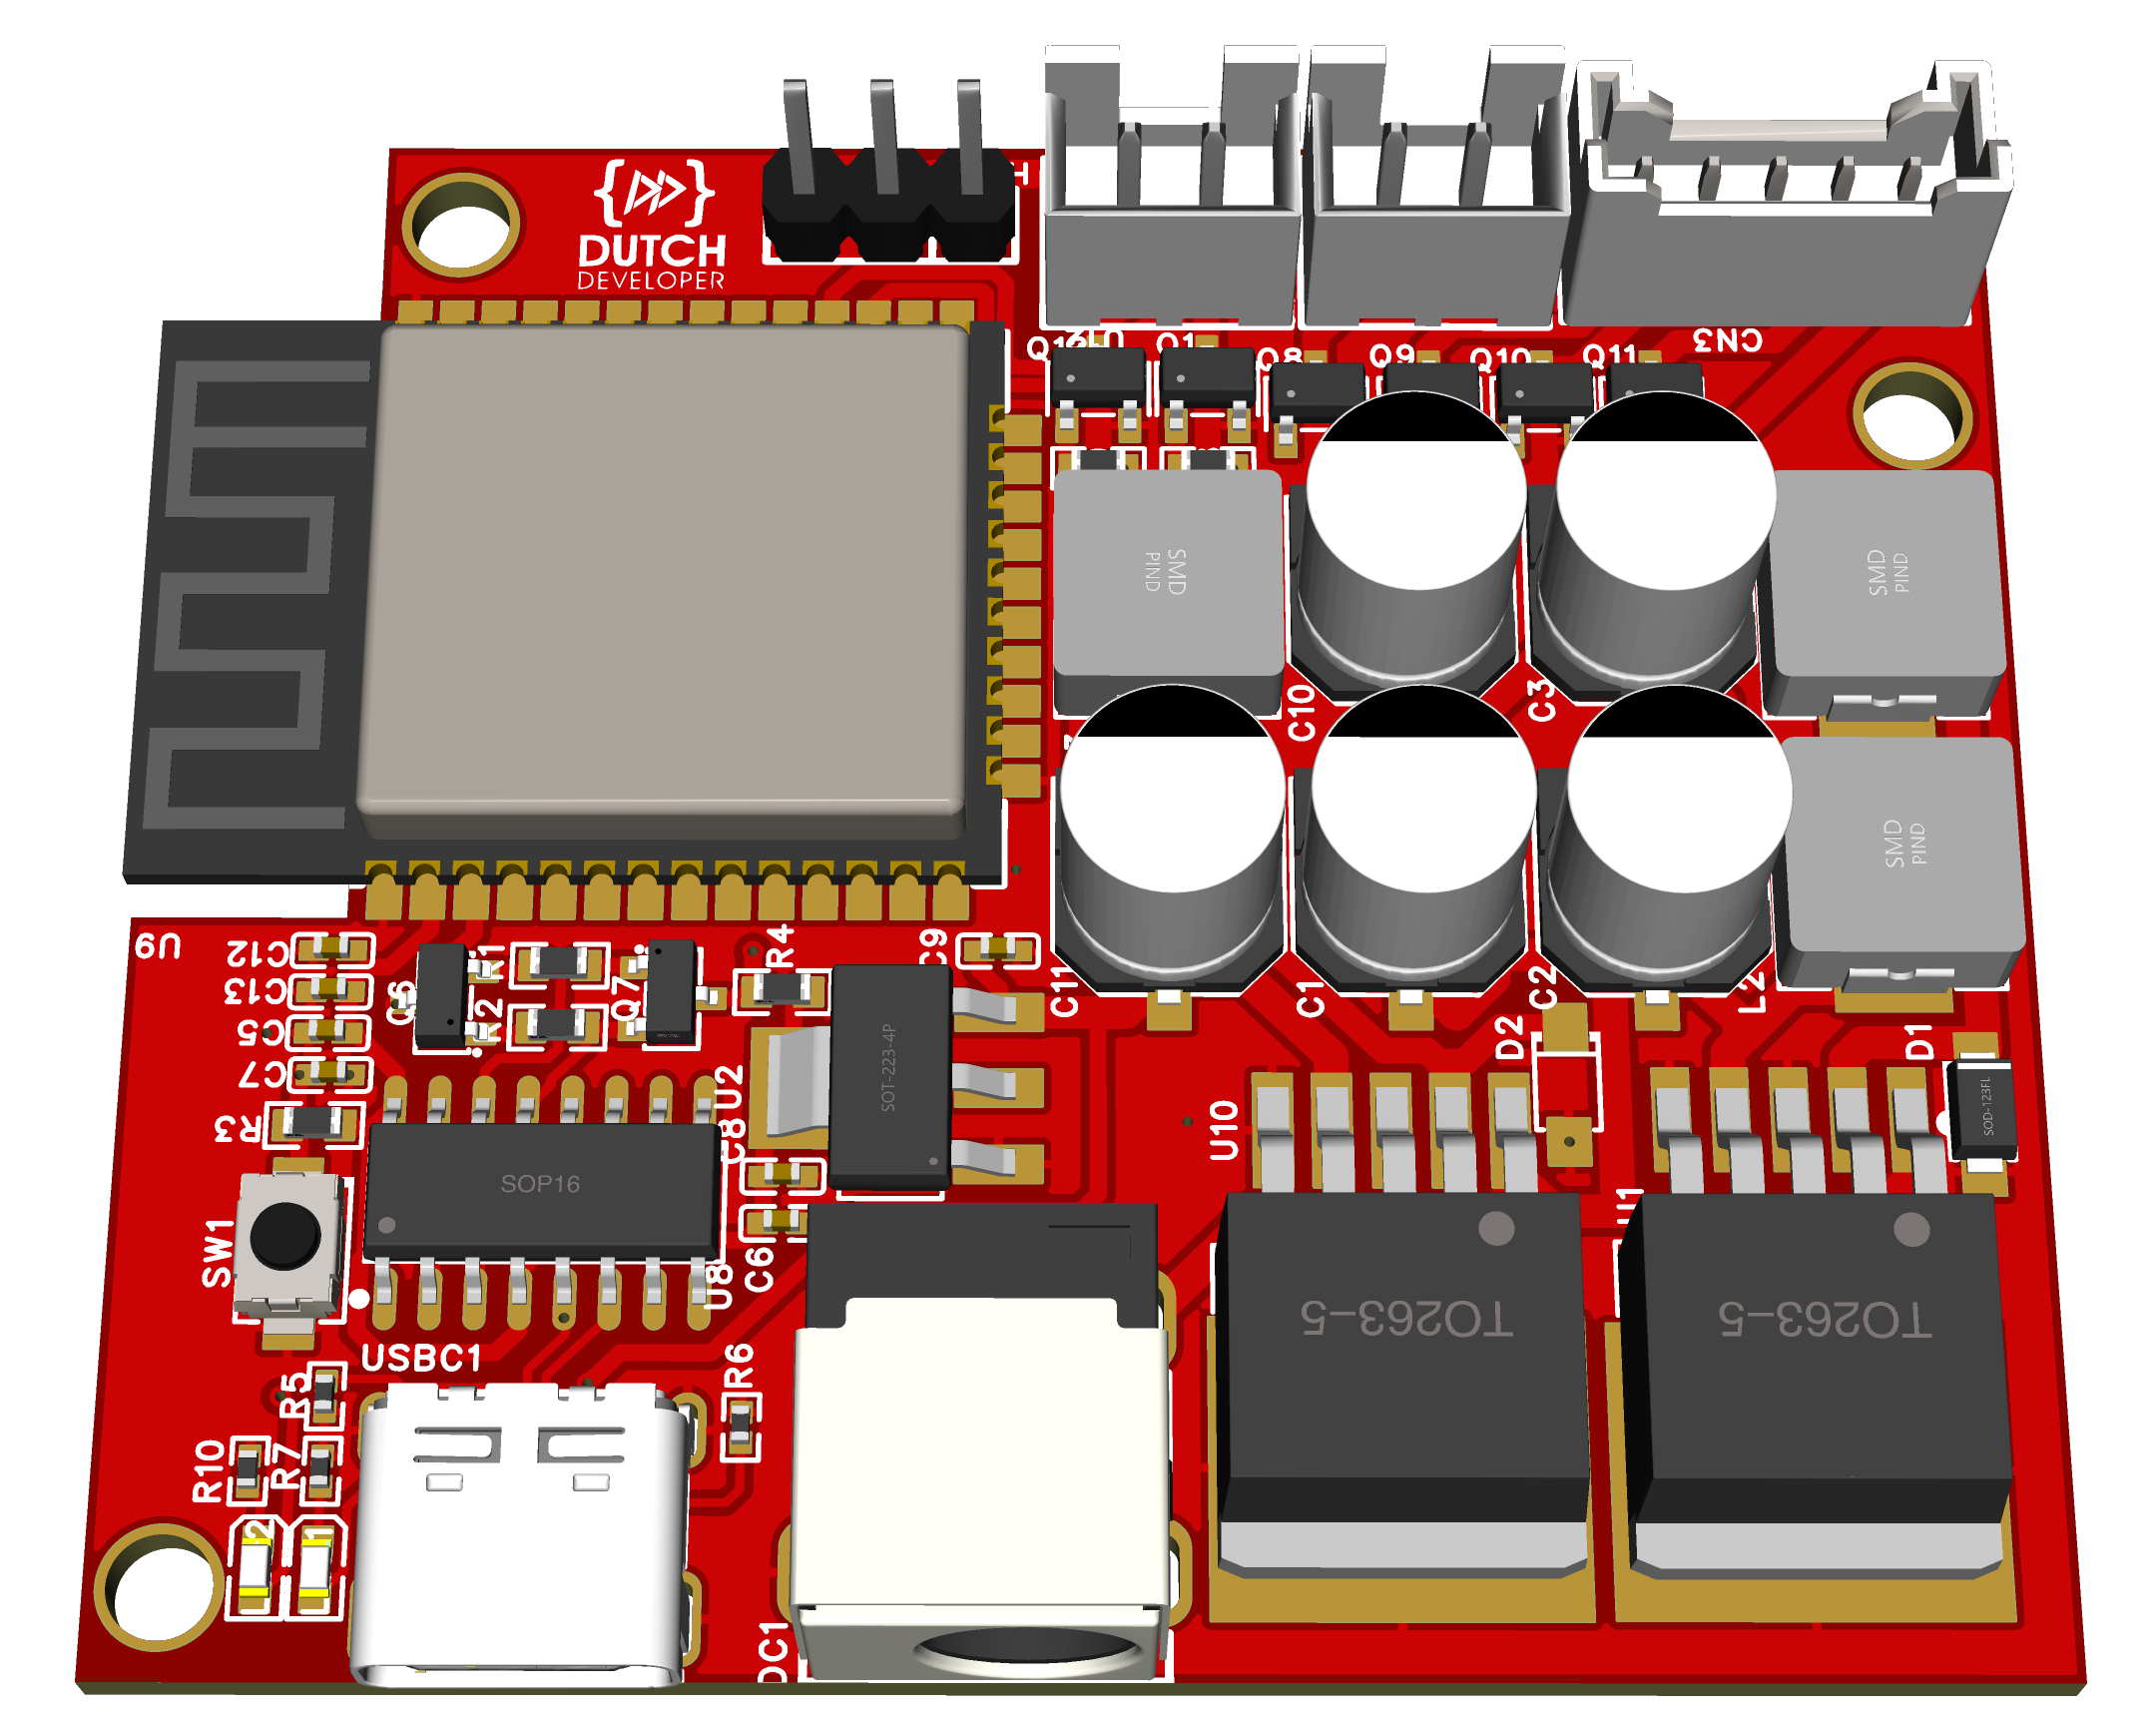
⬢ grab the BLSmartflow and open the case. this will reveal the Smartflow’s circuitboard.
⬢ Grab the lowerhalf of the bento smarflow base
⬢ Install the BLSmartflow into the 3dprint.
⬢ Grab the upperhalf of the bento smarflow base
⬢ and bring it closer to the lowerhalf
⬢ Connect the fan cables to the fan connectors on the smartflow board.
⬢ Lower the upperhalf of the bento smarflow base onto the lowerhalf and make sure that the fan wires are coming out through the back and arent being pinched.
⬢ Grab the 2 M3*8 mm machine screws
⬢ Insert the 2 M3*8 mm machine screws marked in the picture, and give them a few turns so they stand vertical.
⬢ Grab an allenkey and lower it down through between the fanblades.
⬢ Now tighten the scrw until it sits flush with the housing.
⬢ Repeat this step for the second screw.
Step 4
Connecting both assemblies
Step 5
Finishingtouches
⬢ Now route the write like shown on the picture.
⬢ Push any excess wire into the housing.
⬢ Lastly tighten the M3*25 mm machine screws and make sure to not pinch any of the wires.
⬢ Now you have successfully build a smart bentobox using the BLSmartflow, Now is a good time to install and configure your BLSmartflow using our configuration tool.
Debugging
There is a led indicator to help you debug the most common issues. This led will blink a specific amount of time depending on what the problem is.
⬢ 1 blink: this means that there is no configuration present on the device and you will need to go through the setup.
⬢ 2 blinks: this means that either there is no wifi information or it has failed to connect to the wifi.
⬢ 3 blinks: this means that either there is no mqtt info present, or that the connectionn has dropped or failed.